Take Better Pictures in a Few Simple Steps
In my last blog post, I talked about what "great lighting" is, and how to look for it in natural light situations to take better pictures. If the goal is to take better pictures of your family and children, then we will usually want even lighting and soft shadows. Even lighting means that there are no bright spots in on your subject(s). Your subject(s) have the same amount of light. Soft shadows means that there is a soft and gradual transition from light to shadow. There are no harsh lines that clearly define the transition from light to shadow.
Let's put it into action.
1. Analyze your natural lighting situation.
If you're outside during the day, in order to achieve even lighting and soft shadows, put your subject's back to the sun. No matter what time of day, if your subject's back is to the sun, the lighting on the face(s) will be more even. Even lighting is especially important when you have multiple subjects. The eye is drawn to the brighter parts of the picture. If one person is brighter than others, our eye will be drawn to that person. You can also put your subjects in even shade so that all subjects have the same lighting.
2. Make your subject stand out from the background. Choose a simple and non-distracting background. I used to put interesting backgrounds ahead of interesting lighting. This is a big mistake. While backgrounds can bring interest to your photo and can give you a sense of environment, you don't want it to be a distraction from your main subject.
One way to make your subject stand out is by blurring the background. I wrote two blog posts on how to get your backgrounds blurry. Click here for tip #1 and here for tip #2.
Another way to get your subject to stand out is using rim lighting. This is another reason to position your subject's back to the sun. The sun makes a wonderful hair light. Take a look at these two examples of using the sun for rim lighting.
In this first photo, the hair light is strong, and creates a bright rim around the subject's head.
In this second photo, the hair light is soft, and is a very subtle effect that creates just enough separation from the background to help the subjects stand out.
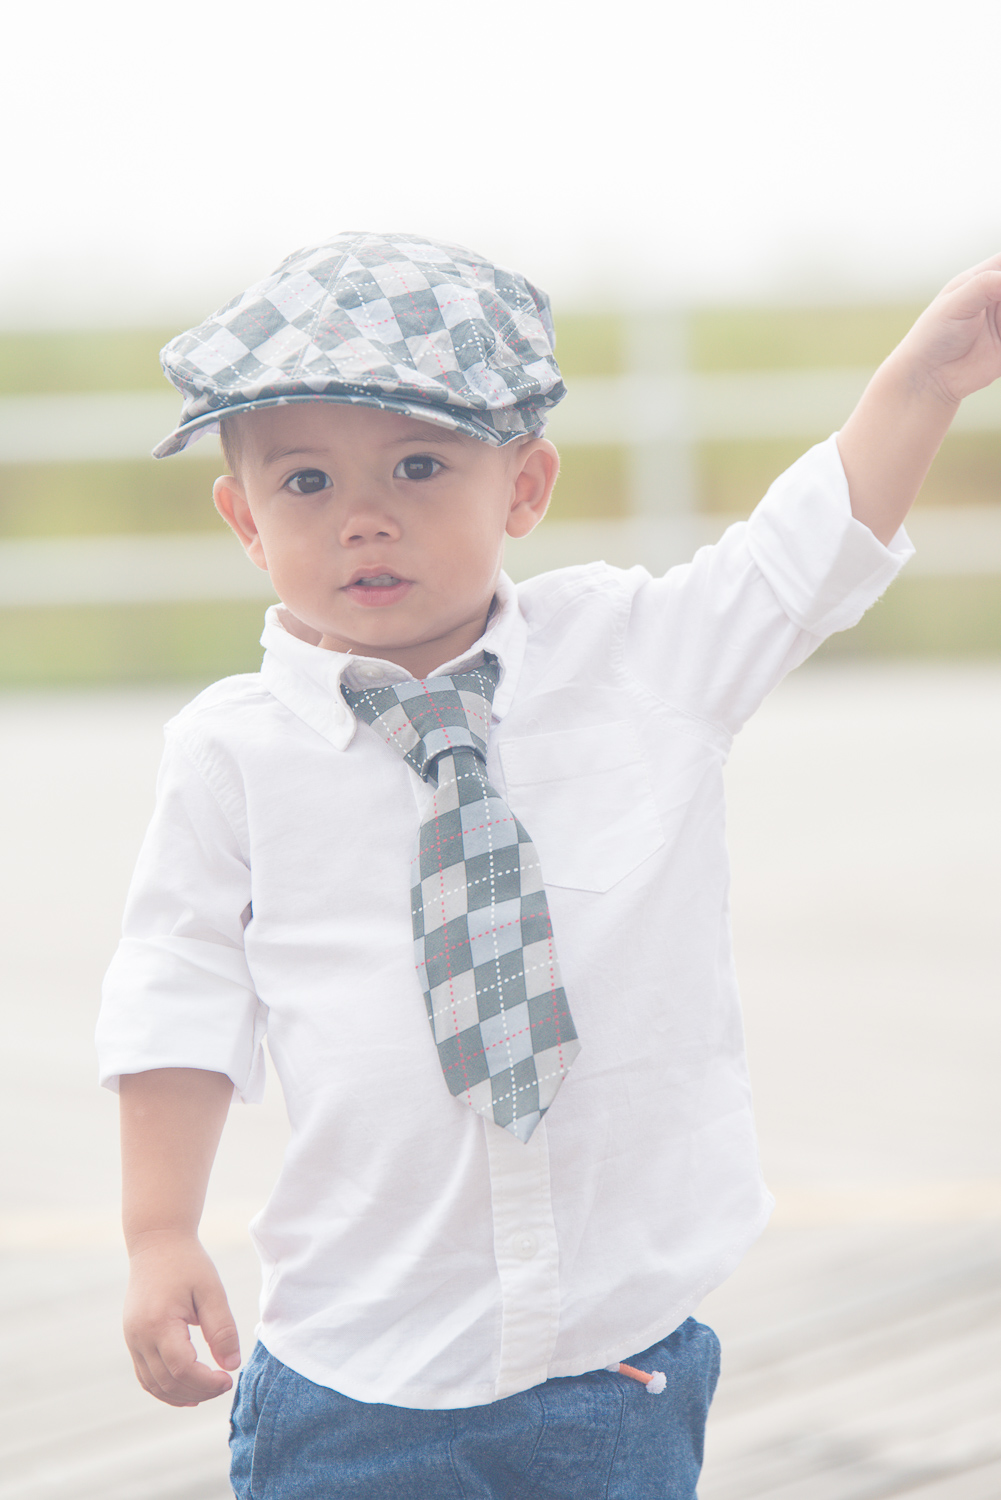
3. Use reflectors to brighten the faces and create catch lights in the eyes. Reflectors can be buildings. Look for white surfaces that are facing the sun. Position your subject in front of the white surface, with the subject's back to the sun. The sun will reflect on the white surface and bounce onto your subject's face to create even, soft lighting and will create beautiful catch lights in the eyes. The great thing about using a white wall as a reflector is that it acts as a very large light source. Remember that large light sources create soft shadows. Small light sources create hard shadows. In this photo, I positioned my son in front of a large white wall with his back to the sun. The white wall acted as a large reflector, which acted as a large light source. You can see the white wall as the catch light in his eyes.
You can also use a 5-in-1 reflector like this one, or even a foam board like this one. This requires a little more help or coordination, as you have to hold it, prop it, or have someone hold it for you.
Putting it all together
While we were in Atlantic City a few weeks ago, I wanted to take some pictures of my kids.
We had a full week, and we didn't have any hard agendas, so I had some time to wait for the great outdoor lighting situations to happen. This particular day, we had time in the middle of the day and it was mostly cloudy, so I took my daughters out. As we were walking, the sun peeked out a little and I saw this area where a building was casting a shadow onto the ground. I had them sit on the ground right at the edge of the shade. The ground behind them was in the shade and their backs were and hair were in the sun. This created a rim light on their hair so that they would stand out against the background. I also like how the ground was simple and non-distracting.
The ground was light enough to bounce light into their faces, but I decided to use a little help with the silver side of my 5-in-1 reflector. I kneeled on the ground and propped the reflector in front of me. It brightened their faces a little bit and put a catch light into their eyes.
And there it is. A simple photo of my children that I love. Isn't that what it's really all about? Creating beautiful photos of the people that you love the most?
Now, I will tell you that it took a little maneuvering to get this candid, natural laughing moment. I know you know what I'm talking about. When you're taking a picture of your kids, they do this forced, unnatural smile or they don't cooperate and refuse to smile at all. My next blog post will be all about posing your kids and getting natural smiles out of them. Stay tuned!


